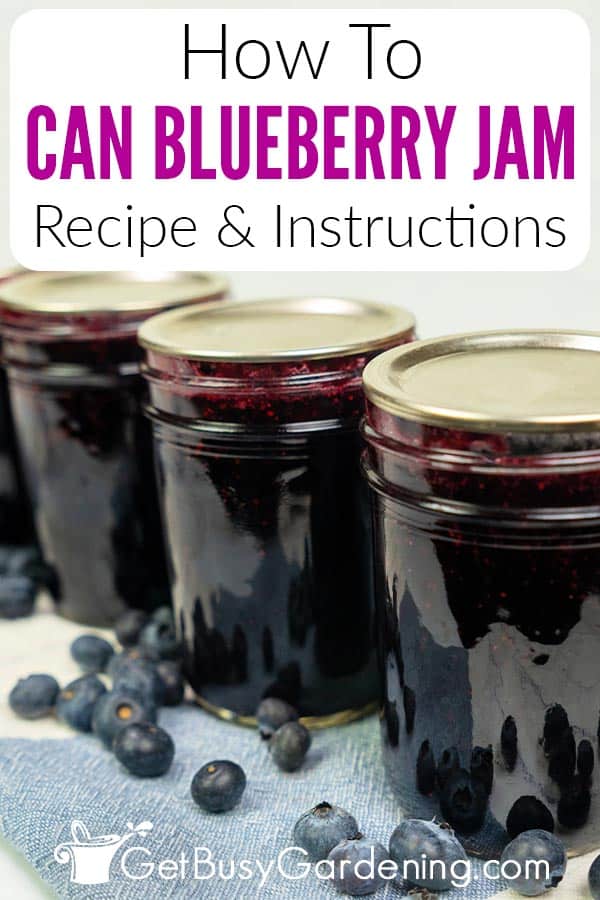
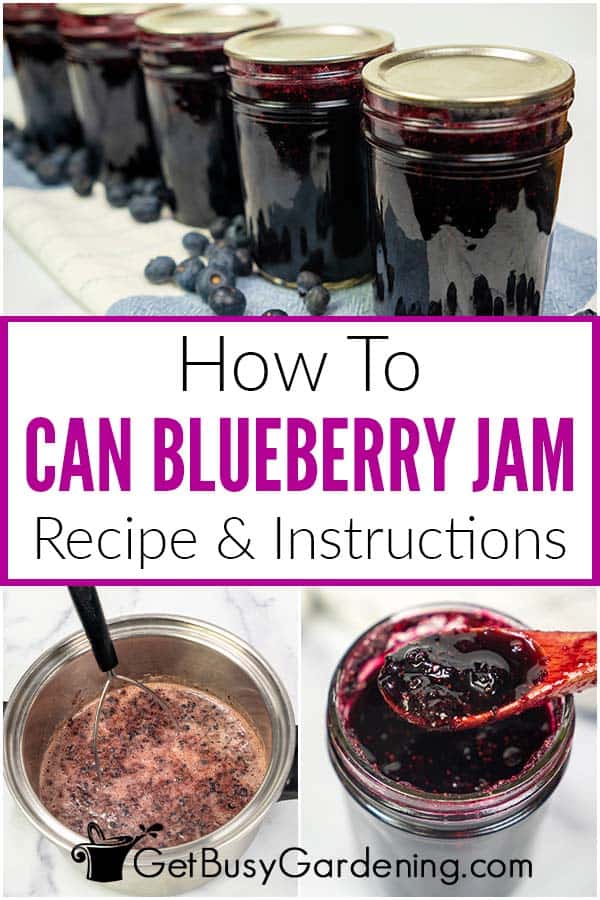
如何罐装蓝莓果酱(附食谱)

 如何罐装蓝莓果酱(附食谱)

Timothy Ramirez

在本篇文章中,我将向您展示如何从头开始制作蓝莓果酱,只需使用一些简单的工具和配料。

没有什么比直接从罐子里取出自制的蓝莓果酱更好的了,而且自己制作罐头也很简单。

如果您的蓝莓树结出的果实多到您吃不完,或者您在杂货店买到了大宗好货,那么是时候尝试将果酱装罐了。

下面,我将用简单易学的步骤向你展示如何在家里自己制作。

蓝莓果酱罐头配方

这个自制蓝莓果酱配方非常令人满意,而且用途广泛,我是专门为装罐而制作的。

在烤面包上、花生酱三明治里、华夫饼上蘸点,或者加到你最喜欢的甜点里,它都是美味可口的。 它的选择真是无穷无尽。

See_also: 如何设计前院地基种植

只需几种简单的配料和常用的厨房工具,您就可以自己动手制作了。

相关职位: 如何在花盆或花园里种植蓝莓

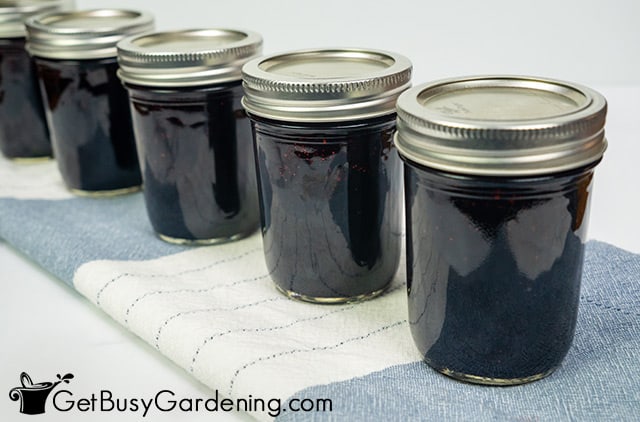
See_also: 如何从花园里收获和获取香菜种子
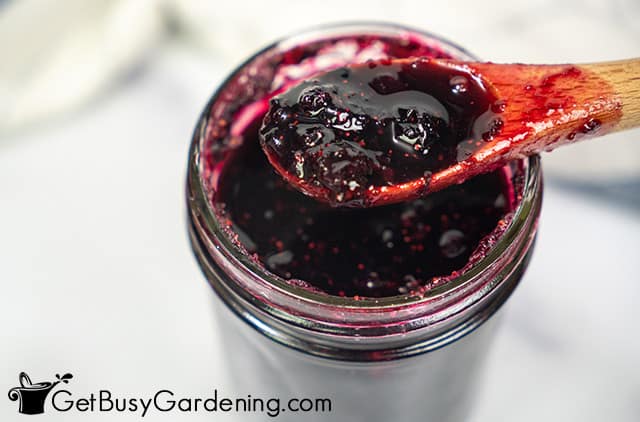
 一罐自制罐装蓝莓果酱

罐装蓝莓果酱的配料

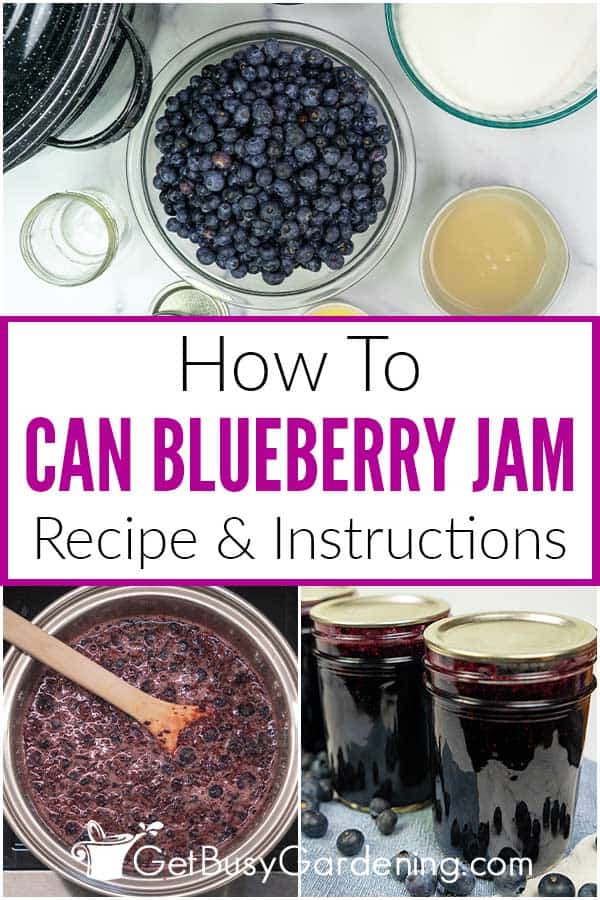
我设计的这款蓝莓果酱食谱制作简单,易于装罐。 只需 4 种您手头可能已有的配料,就能快速制作。

  • 蓝莓 - 如果没有新鲜水果,可以用冷冻蓝莓代替。
  • - 如果您愿意,可以用 Splenda 或甜菊糖代替一半或全部的糖,但口感可能会更稀。
  • 小盘子

在下面的评论区分享您最喜欢的蓝莓果酱罐头配方。

食谱及说明

产量:7 杯

如何制作蓝莓果酱罐头

只需几个简单的步骤,您就能在家制作出这个简单美味的蓝莓果酱罐头食谱。 将它涂抹在早晨的吐司或华夫饼上,或用来制作您最喜欢的甜点。

准备时间 30 分钟 烹饪时间 25 分钟 总时间 55 分钟

配料

  • 6 杯蓝莓
  • 4 杯糖
  • 2 汤匙柠檬汁
  • 3 盎司液体果胶(可选)

说明

  1. 准备罐头和浆果 - 将水浴式罐头盒装满水,用大火煮沸。 将一个小盘子放入冰箱冷冻室(稍后会用到),然后冲洗蓝莓并沥干水分。
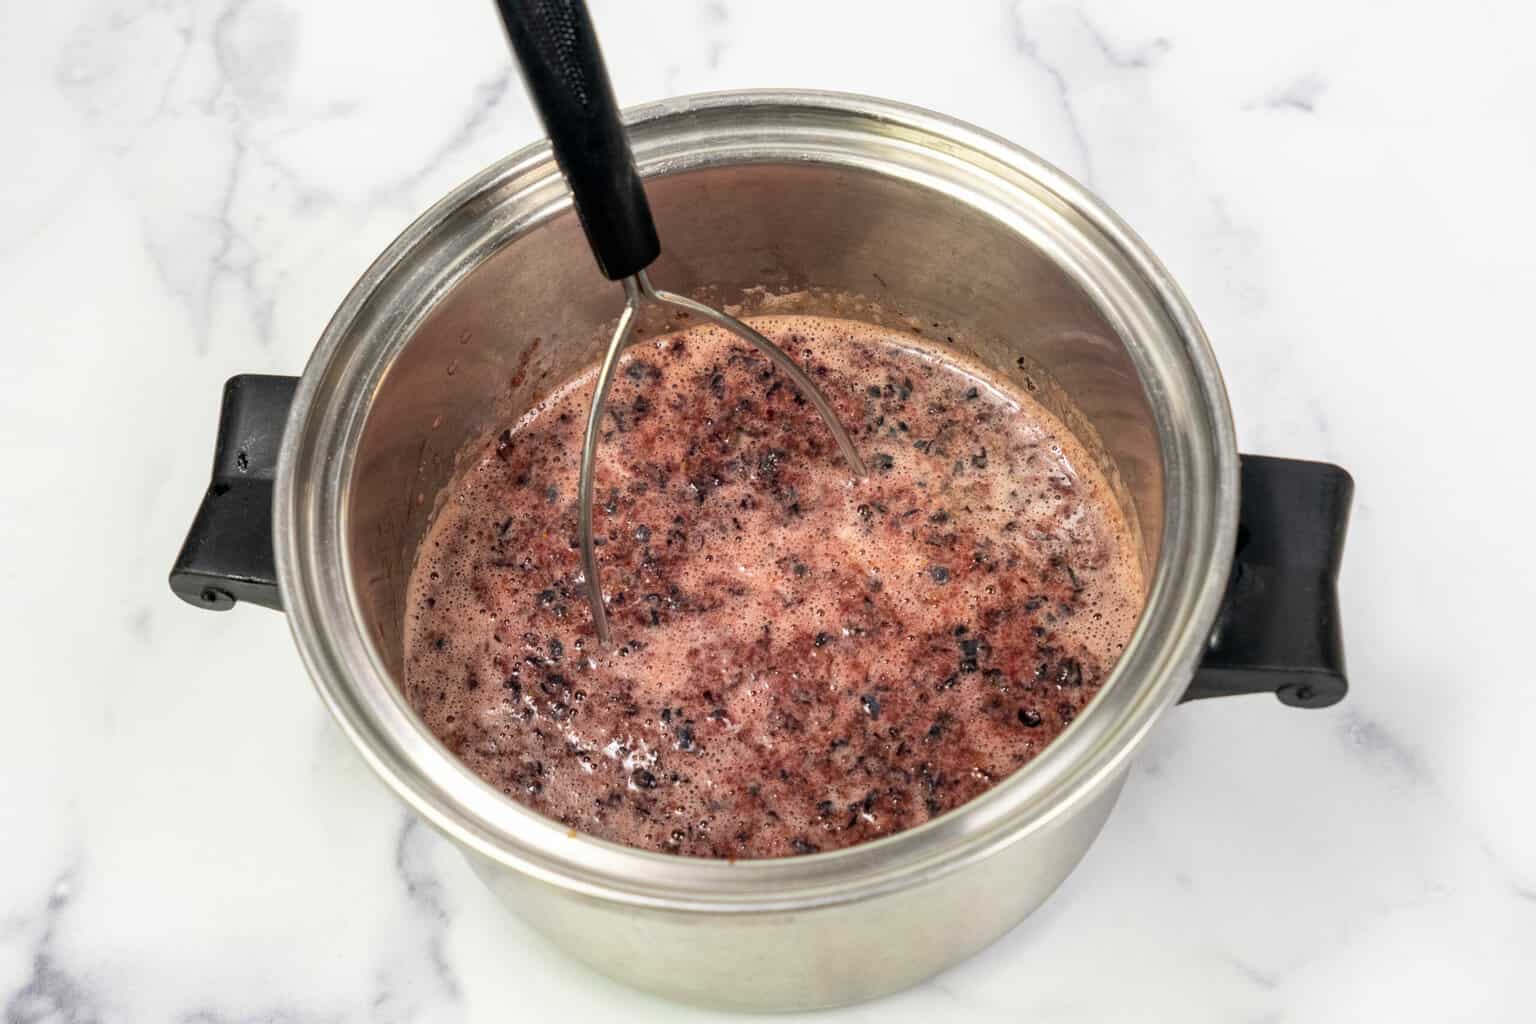
  2. 压碎蓝莓 - 将蓝莓倒入一个大碗中,用土豆泥将其捣碎。 捣碎后,应该还有一些小块,但已经没有完整的浆果了。
  3. 混合果酱配料 - 将蓝莓泥倒入锅中,加入糖和柠檬汁,搅拌均匀。
  4. 煮果酱 - 把炉子转到小火上,继续搅拌,直到所有的糖都完全溶解。 把炉子转到大火上,让果酱完全沸腾 10-15 分钟,偶尔搅拌一下。
  5. 测试熟度 把盘子从冰箱里拿出来,立即往上面滴一勺果酱。 如果果酱在 1-2 分钟内凝固了,那就完成了。 如果还是稀的,再煮几分钟,然后重新测试厚度。
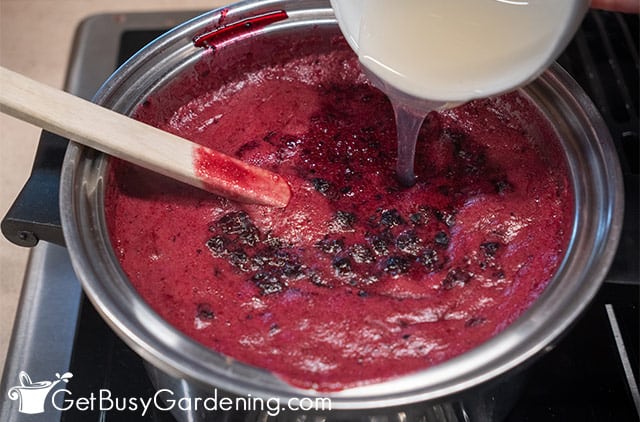
  6. 添加果胶(可选) - 如果您对厚度满意,可以跳过这一步。 但如果还是太稀,可以在果酱混合物中加入液体果胶。 只需关掉火,加入果胶搅拌 1-2 分钟,直到果酱变稠。
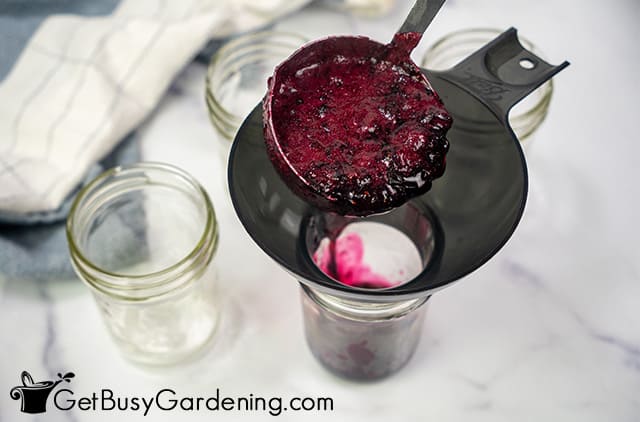
  7. 装满瓶子 - 用罐头漏斗将果酱倒入热罐中,留出 1/4 英寸的瓶口空间。 然后擦拭瓶口,再盖上新盖子和盖环,并固定带子,使其用指尖拧紧。
  8. 将罐子放入罐头盒 - 使用搬运工具,小心地将罐子放入沸水罐头盒中。
  9. 加工罐子 - 将蓝莓果酱罐放入沸水中煮 10 分钟。 时间一到,立即关火并取出罐子。
  10. 凉爽和标签 - 然后在储存前用永久性记号笔在上面写上日期,或尝试使用可溶解标签。

说明

  • 让罐子始终保持热度非常重要,因此要提前做好计划,在装罐前将加工水烧开,然后在装好后立即放入罐中。
  • 此外,在装罐时一定要快,以免罐子在加工前冷却下来。
  • 如果听到罐子冷却时发出 "乒乒乓乓 "的声音,不要惊慌,这只是表示盖子正在密封。

营养信息:

产量

112

食用量:

2 汤匙

每次食用量: 卡路里:35 总脂肪:0 克 饱和脂肪:0 克 反式脂肪:0 克 不饱和脂肪:0 克 胆固醇:0 毫克 钠:2 毫克 碳水化合物:9 克 纤维素:0 克 糖:8 克 蛋白质:0 克 © Gardening® 园艺 类别 食品保存

Timothy Ramirez

Jeremy Cruz is an avid gardener, horticulturalist, and the talented author behind the widely popular blog, Get Busy Gardening - DIY Gardening For The Beginner. With over a decade of experience in the field, Jeremy has honed his skills and knowledge to become a trusted voice in the gardening community.Growing up on a farm, Jeremy developed a deep appreciation for nature and a fascination for plants from an early age. This fostered a passion that eventually led him to pursue a degree in Horticulture from a prestigious university. Throughout his academic journey, Jeremy gained a solid understanding of various gardening techniques, principles of plant care, and sustainable practices that he now shares with his readers.After completing his education, Jeremy embarked on a fulfilling career as a professional horticulturist, working in renowned botanical gardens and landscaping companies. This hands-on experience exposed him to a diverse array of plants and gardening challenges, which further enriched his understanding of the craft.Motivated by his desire to demystify gardening and make it accessible to beginners, Jeremy created Get Busy Gardening. The blog serves as a comprehensive resource brimming with practical advice, step-by-step guides, and invaluable tips for those starting on their gardening journey. Jeremy's writing style is highly engaging and relatable, making complexconcepts easy to grasp even for those without any prior experience.With his friendly demeanor and genuine passion for sharing his knowledge, Jeremy has built a loyal following of gardening enthusiasts who trust his expertise. Through his blog, he has inspired countless individuals to reconnect with nature, cultivate their own green spaces, and experience the joy and fulfillment that gardening brings.When he is not tending to his own garden or writing captivating blog posts, Jeremy can often be found leading workshops and speaking at gardening conferences, where he imparts his wisdom and interacts with fellow plant lovers. Whether he's teaching beginners how to sow their first seeds or advising experienced gardeners on advanced techniques, Jeremy's dedication to educating and empowering the gardening community shines through every aspect of his work.