如何正确冷冻豌豆

 如何正确冷冻豌豆

Timothy Ramirez

冷冻豌豆非常简单,也是一种常备豌豆的好方法,一年四季都可以添加到您喜欢的食谱中。

无论您的菜园里有过多的豌豆,还是您想从杂货店或农贸市场囤积豌豆,冷冻豌豆都是一个方便的选择。

下面,我将通过详细的步骤说明,告诉你如何准确地冷冻新鲜豌豆。

准备冷冻新鲜豌豆

在冷冻新鲜豌豆之前,一定要清洗干净,以去除任何污垢或碎屑。 是将豌豆从豆荚中取出,还是让其保持完整,这取决于您的豌豆品种。

您可以将雪豌豆或糖豌豆原粒冷冻,而无需去壳。 不过,您一定要先将英国豌豆从豆荚中取出。

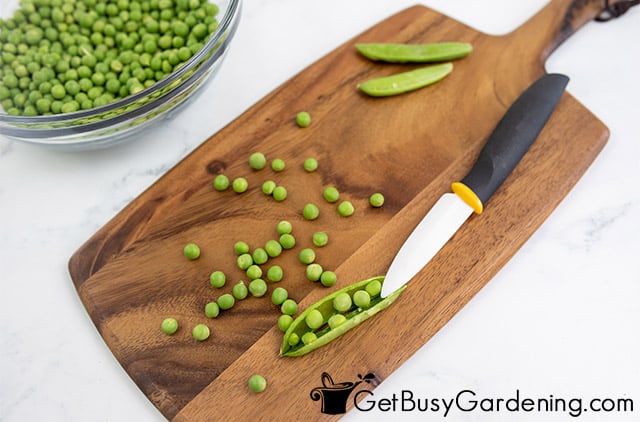
剥壳时,只需用手指弹开豆荚,然后用手指顺着豆荚内侧将其取出,再放入碗中。

冷冻豌豆前必须焯水吗?

豌豆在冷冻前不一定要焯水,但焯水是最理想的做法。 焯水可以锁住豌豆的风味,有助于保持豌豆的颜色和质地,还能帮助延长豌豆的保质期几个月。
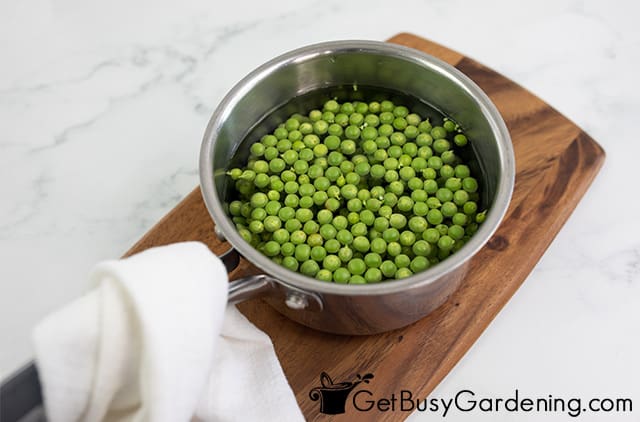
如何将豌豆焯水冷冻

清洗豌豆很简单,只需在沸水中烫 1 到 1 分半钟即可。

然后,立即将它们移到冰冷的水浴中,停止烹饪过程,让它们完全冷却。

相关职位: 如何在家制作豌豆罐头

冷冻前焯豌豆

冷冻豌豆的方法

您可以使用几种方法冷冻豌豆,选择哪种方法取决于豌豆的品种、您打算以后如何使用豌豆以及您有多少时间。

冷冻豆荚中的豌豆

如果是雪荚或糖荚,可以保留整个,因为豆荚可以食用,而且结构较软。

与剥壳相比,整颗保留可以节省一些时间。 这些蔬菜非常适合用来炒菜或做其他菜肴,甚至不用先解冻。

冷冻带壳豌豆

英国豌豆需要剥壳后才能冷冻,因为豆荚坚硬,不能食用。

See_also: 如何制作南瓜罐头

虽然这是一个额外的步骤,但它仍然非常简单,一旦掌握了窍门,并不需要花费太多时间。 另外,它实际上还能让人感到放松。

相关职位: 如何保存花园里的豌豆种子

See_also: 如何养护心叶飞燕草(Philodendron hederaceum)
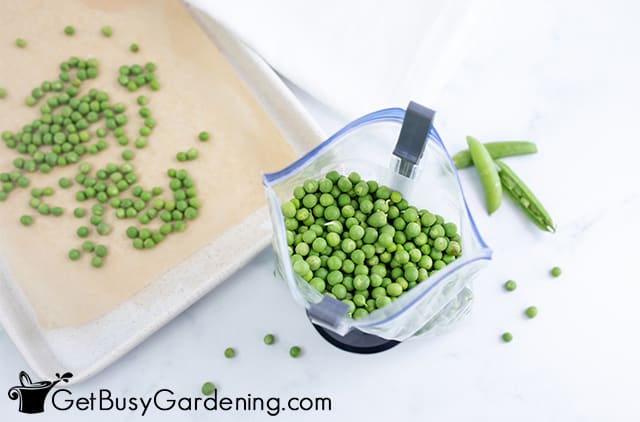
 在冷冻袋中装满豌豆

速冻豌豆

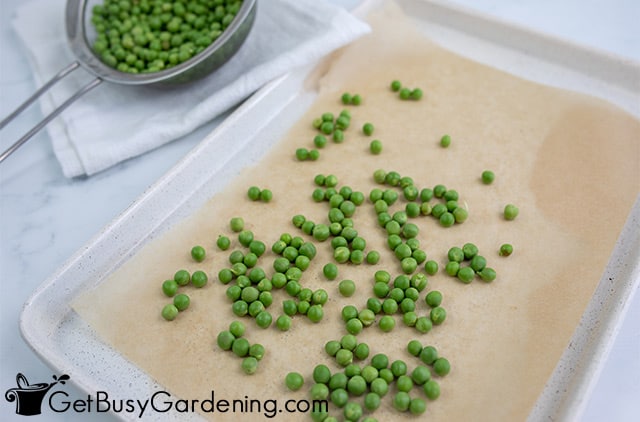
无论是整粒豌豆还是带壳豌豆,速冻都是一个可选步骤。 但速冻有助于防止豌豆粘成一大团。

您只需将它们均匀地铺在铺有羊皮纸的烤盘上,然后放入冰箱冷冻一小时,直到它们摸起来很结实。

相关职位: 如何在花园里给豌豆搭架

所需工具和用品

以下是您需要的工具和设备清单,但根据您选择使用的工艺,您可能不需要所有工具和设备。

  • 厨房纸巾或纸巾

在下面的评论区分享您冷冻豌豆的技巧。

逐步说明

如何冷冻豌豆

冷冻豌豆非常简单,也是储存豌豆以供全年享用的好方法。 您可以用豌豆炒菜,也可以将豌豆作为即热即食的配菜,还可以将豌豆添加到您的任何食谱中。

准备时间 30 分钟 烹饪时间 7 分钟 额外时间 1 小时 总时间 1 小时 37 分钟

配料

  • 新鲜豌豆

说明

  1. 准备豌豆 - 将豌豆冲洗干净,去掉泥土或杂物,然后用滤网沥干。 如果是雪豌豆或豌豆荚豌豆,可以将它们留在豆荚里。 否则,将豌豆从豆荚里取出,放在碗里,然后再次冲洗干净。
  2. 焯一下(可选,但推荐) - 将豌豆放入沸水锅中烫 1-1.5 分钟,然后用大勺捞出,放入冰水碗中浸泡约 5 分钟,直至完全冷却。
  3. 沥干 - 豌豆沥干水分,放在干净的厨房毛巾或纸巾上,拍干水分。
  4. 闪存冻结 - 将豌豆放在铺有羊皮纸的烤盘上,然后放入冰箱冷冻 30 分钟至 1 小时,直到摸起来硬硬的。
  5. 包装和密封 - 将豌豆装入冷冻袋(使用免提袋夹可让这项工作变得更加轻松)。 然后压出多余空气并密封。
  6. 贴标签并冷冻 - 用永久性记号笔在包装袋上标注日期,以便知道何时过期,然后平放在冰箱里。

说明

  • 速冻是可选项,但可以防止豌豆粘在一起或形成一个大团块。
  • 我建议,如果您知道一次不需要大量的豌豆,就用较小的冷冻袋来储存。 这样在将来使用时会更有效率。
  • 要延长冷冻豌豆的保质期并防止冷冻室烧焦,可以尝试使用食品真空密封机。
园艺 类别 食品保存

Timothy Ramirez

Jeremy Cruz is an avid gardener, horticulturalist, and the talented author behind the widely popular blog, Get Busy Gardening - DIY Gardening For The Beginner. With over a decade of experience in the field, Jeremy has honed his skills and knowledge to become a trusted voice in the gardening community.Growing up on a farm, Jeremy developed a deep appreciation for nature and a fascination for plants from an early age. This fostered a passion that eventually led him to pursue a degree in Horticulture from a prestigious university. Throughout his academic journey, Jeremy gained a solid understanding of various gardening techniques, principles of plant care, and sustainable practices that he now shares with his readers.After completing his education, Jeremy embarked on a fulfilling career as a professional horticulturist, working in renowned botanical gardens and landscaping companies. This hands-on experience exposed him to a diverse array of plants and gardening challenges, which further enriched his understanding of the craft.Motivated by his desire to demystify gardening and make it accessible to beginners, Jeremy created Get Busy Gardening. The blog serves as a comprehensive resource brimming with practical advice, step-by-step guides, and invaluable tips for those starting on their gardening journey. Jeremy's writing style is highly engaging and relatable, making complexconcepts easy to grasp even for those without any prior experience.With his friendly demeanor and genuine passion for sharing his knowledge, Jeremy has built a loyal following of gardening enthusiasts who trust his expertise. Through his blog, he has inspired countless individuals to reconnect with nature, cultivate their own green spaces, and experience the joy and fulfillment that gardening brings.When he is not tending to his own garden or writing captivating blog posts, Jeremy can often be found leading workshops and speaking at gardening conferences, where he imparts his wisdom and interacts with fellow plant lovers. Whether he's teaching beginners how to sow their first seeds or advising experienced gardeners on advanced techniques, Jeremy's dedication to educating and empowering the gardening community shines through every aspect of his work.