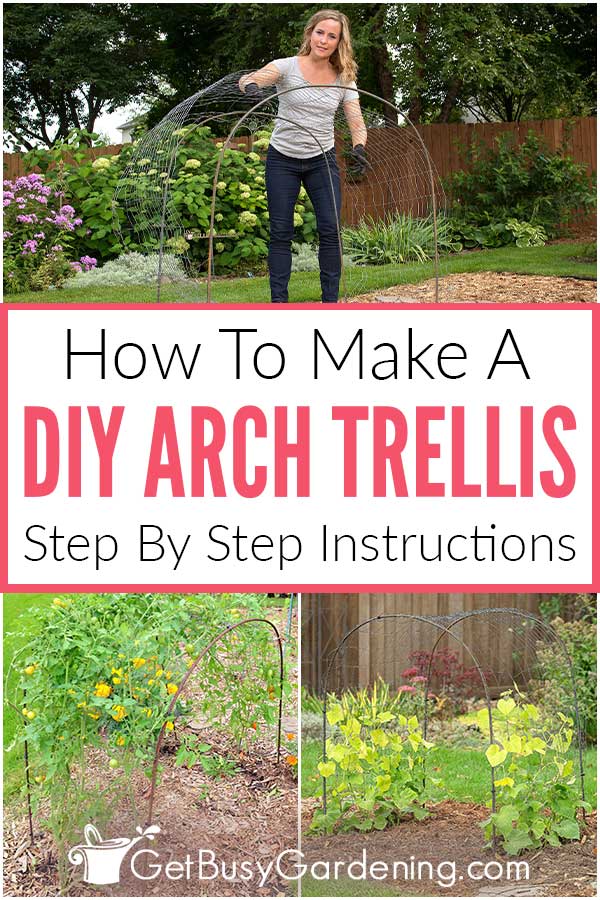
如何搭建 DIY 拱形花架

 如何搭建 DIY 拱形花架

Timothy Ramirez

这种 DIY 拱形花架的尺寸非常适合任何花园,而且非常容易搭建,看起来也非常漂亮。 在这篇文章中,我将一步一步地向您展示如何制作自己的花架。

See_also: 如何有机防治日本甲虫

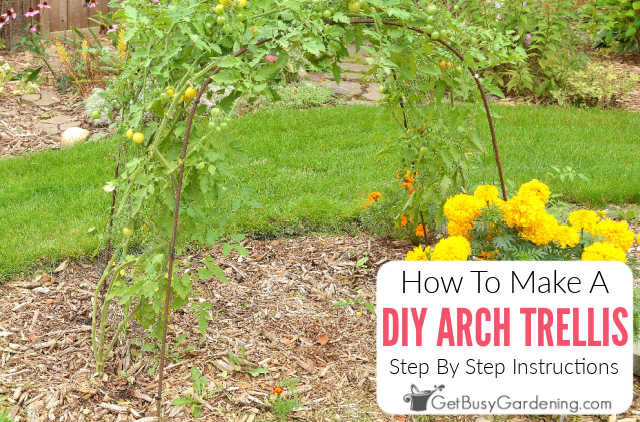
现在你已经知道,垂直种植可以大大节省空间。 使用这种小拱形棚架的最大好处是,你可以在下面种植较矮的作物,给你提供两倍的空间。

金属片使拱门非常坚固,因此支撑满藤成熟和沉重果实的重量不成问题。
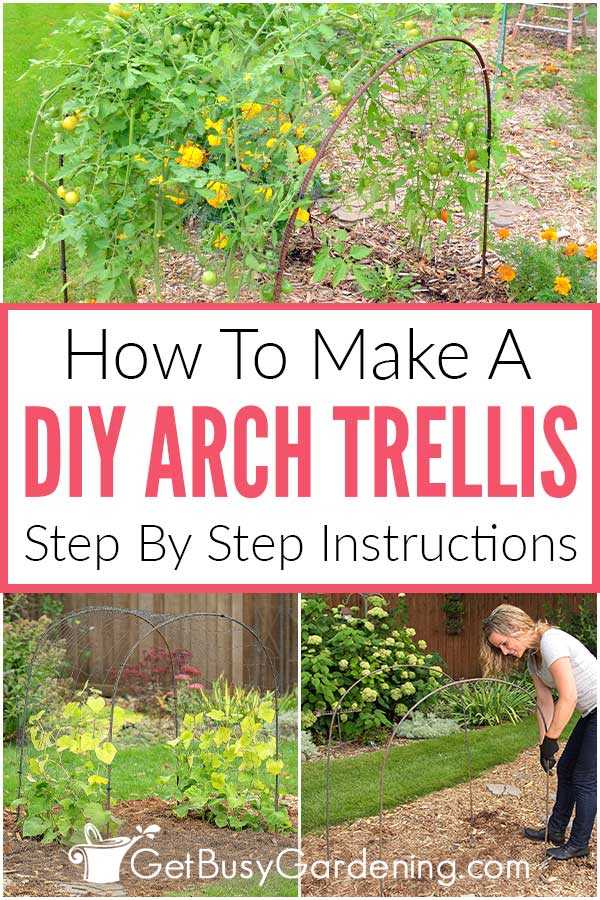
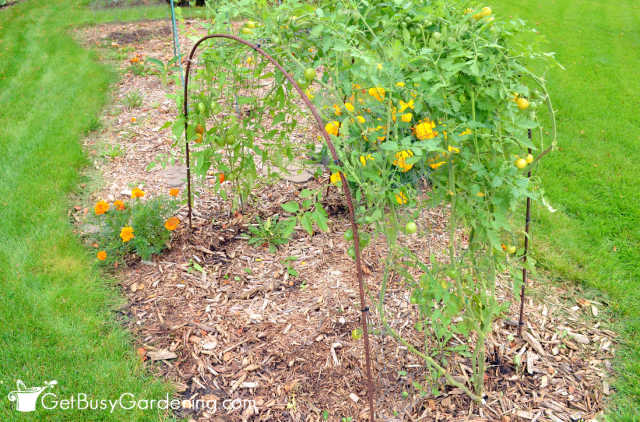
我花园里的 DIY 拱形棚架

这种小拱棚的另一个好处是,蔬菜会垂下来,便于观察。 拱棚也足够高,这样您就不必弯腰采摘了。

将栅栏固定在框架上后,拱门也可以移动。 只需将栅栏从地下拔出,将拱门移到新的位置,然后再将栅栏推回地下即可。

DIY 拱形花架常见问题

在本节中,我将回答一些关于我的 DIY 拱形花架设计的常见问题。 如果您没有在这里看到您的问题,请在下面的评论中提问。

See_also: 何时及如何收获南瓜 - 采摘冬瓜或夏瓜

您是在棚架内侧还是外侧种植?

我倾向于在棚架外侧种植,这样下面就有足够的空间种植较矮的作物。 不过,如果你喜欢,也可以在棚架内侧种植,这并不重要。

您是在拱门的两端种植,还是只在一侧种植?

我在拱门的两端都种植了藤蔓,这样藤蔓/枝条就会在拱门顶端汇合,将拱门完全填满。 您可以只在一侧种植较长的藤蔓,但另一侧可能会在夏天的大部分时间都光秃秃的。

这个拱门可以用于种植什么类型的植物?

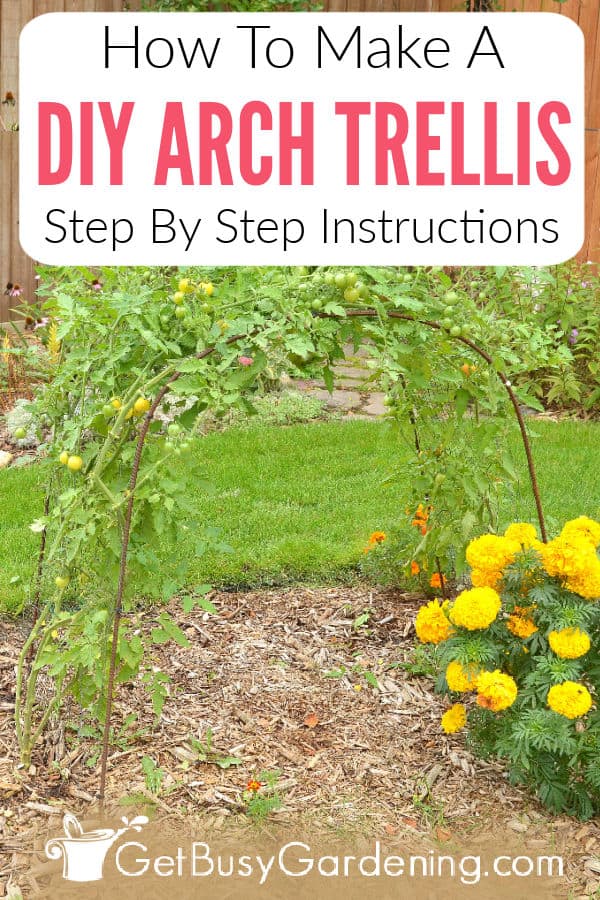
这种拱门非常适合黄瓜、豌豆、豆类、西红柿和葫芦等小型藤蔓作物,也可以用来种植花卉。 它非常坚固,可以使用多年。

被植物覆盖的拱形棚架

如何搭建 DIY 拱形花架

下面是如何制作 DIY 拱形花架的步骤说明,包括照片。 这真的很简单,不需要太多时间。 你可以只做一个,也可以重复这些步骤,根据需要制作任意多个。

产量:1 个小拱棚

DIY 拱形花架步骤说明

这种 DIY 拱形棚架制作简单,而且非常坚固。 您可以将其安装在任何大小的蔬菜园地里,甚至是您的高床中。

材料

  • 10 英尺 3/8 英寸钢筋 (2)
  • 28" 14 号金属花园围栏
  • 8 英寸电缆拉链扎带(12)

工具

  • 剪线钳
  • 手套
  • 剪刀
  • 护目镜

说明

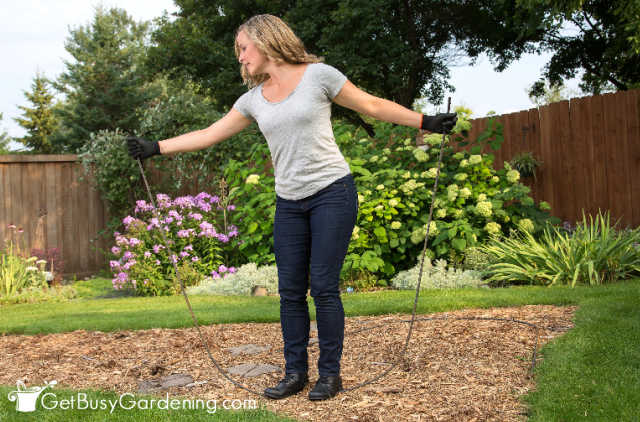
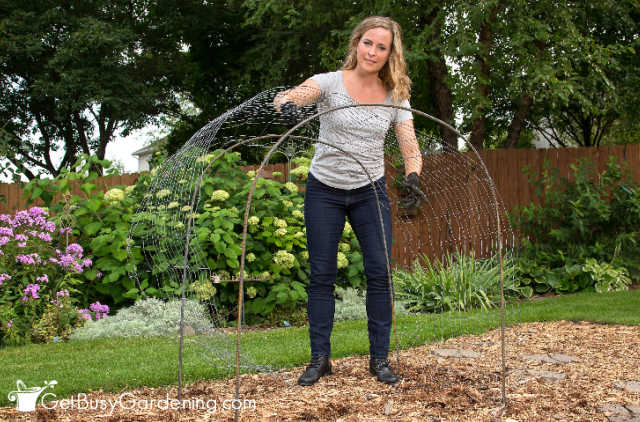
  1. 将钢筋弯成拱形 - 小心地将每根 3/8 英寸的钢筋弯曲成拱形。 钢筋很容易弯曲,但要慢慢来,因为如果用力过猛,钢筋可能会打结。
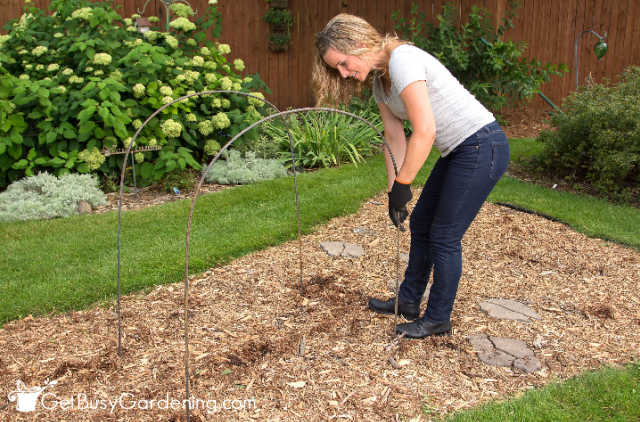
  2. 安装拱形部件 - 将钢筋的两端插入地下,将每个拱门安装在花园中。 每个拱门的两端相距 4 英尺,拱门本身相距 28 英寸。
  3. 测量围栏 - 将花园栅栏铺在拱门顶部,测量应切割多长的栅栏。 使用剪线钳将栅栏切割成合适的尺寸。
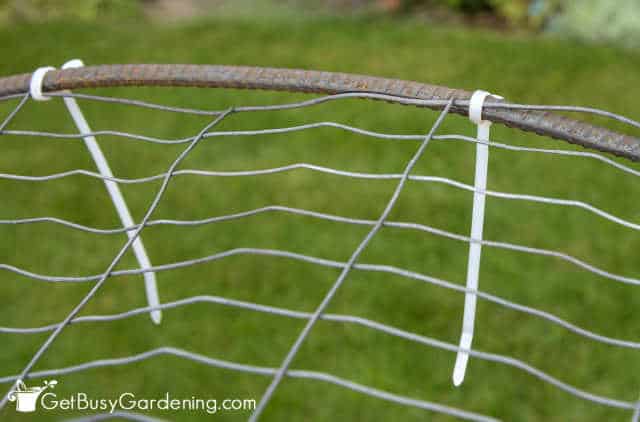
  4. 在两个拱门上安装围栏 - 用拉链将围栏固定在钢筋拱架上,在钢筋的整个长度上每隔 6-10 英寸固定一次。
  5. 去掉多余的标签 - 如果需要,用剪刀剪掉拉链上多余的标签。

说明

  • 钢筋使用起来很脏,所以我建议您在操作时戴上手套。
  • 要把两块钢筋拱片做成完全相同的形状很困难,所以要尽量让它们接近。 它们不需要完全相同,因为它们在花园中会有一定的间距。
园艺 这个简单的 DIY 拱形花架项目制作起来非常快,而且非常实用。 它能让你拥有的空间增加一倍,非常适合任何大小的花园。

这是我的书的部分节选 垂直蔬菜 想要了解更多创意 DIY 项目的具体步骤,以及垂直种植蔬菜的所有知识,请立即订购。

点击这里了解更多关于我的垂直蔬菜新书的信息。

关于垂直园艺的更多信息

    请在下面的评论区分享您的 DIY 拱形棚架制作秘诀。

    其中一些照片由 Tracy Walsh Photography 拍摄。

    Timothy Ramirez

    Jeremy Cruz is an avid gardener, horticulturalist, and the talented author behind the widely popular blog, Get Busy Gardening - DIY Gardening For The Beginner. With over a decade of experience in the field, Jeremy has honed his skills and knowledge to become a trusted voice in the gardening community.Growing up on a farm, Jeremy developed a deep appreciation for nature and a fascination for plants from an early age. This fostered a passion that eventually led him to pursue a degree in Horticulture from a prestigious university. Throughout his academic journey, Jeremy gained a solid understanding of various gardening techniques, principles of plant care, and sustainable practices that he now shares with his readers.After completing his education, Jeremy embarked on a fulfilling career as a professional horticulturist, working in renowned botanical gardens and landscaping companies. This hands-on experience exposed him to a diverse array of plants and gardening challenges, which further enriched his understanding of the craft.Motivated by his desire to demystify gardening and make it accessible to beginners, Jeremy created Get Busy Gardening. The blog serves as a comprehensive resource brimming with practical advice, step-by-step guides, and invaluable tips for those starting on their gardening journey. Jeremy's writing style is highly engaging and relatable, making complexconcepts easy to grasp even for those without any prior experience.With his friendly demeanor and genuine passion for sharing his knowledge, Jeremy has built a loyal following of gardening enthusiasts who trust his expertise. Through his blog, he has inspired countless individuals to reconnect with nature, cultivate their own green spaces, and experience the joy and fulfillment that gardening brings.When he is not tending to his own garden or writing captivating blog posts, Jeremy can often be found leading workshops and speaking at gardening conferences, where he imparts his wisdom and interacts with fellow plant lovers. Whether he's teaching beginners how to sow their first seeds or advising experienced gardeners on advanced techniques, Jeremy's dedication to educating and empowering the gardening community shines through every aspect of his work.