铺设地膜技巧:最佳&;均匀铺设地膜的最简单方法


Table of contents
定期铺设地膜对花园有好处,还能让花园看起来更美观。 在这篇文章中,我将告诉你铺设地膜的好处,回答你的所有问题,并教你如何一步步铺设地膜。


铺设地膜是一项简单的花园维护工作,好处多多,但对于初学者来说,了解何时、如何铺设以及铺设哪种地膜可能会感觉很复杂,而且有一种错误的方法。
在本指南中,您将找到为每个花园选择合适的覆盖材料所需的全部信息,以及正确铺设的方法和时间。
See_also: 最适合在室内种植的 15 种室内开花植物下面我将向您展示我的简单四步流程和必备工具清单,这样您就可以用正确的方法轻松地在花园里铺设地膜。
为什么要给花园铺地膜?
花园覆盖地膜的主要好处是控制杂草和湿度,在土壤上覆盖厚厚的一层地膜可以窒息现有的杂草,防止杂草种子发芽。
它还能帮助土壤保持凉爽,减缓蒸发,从而在炎热的夏季更好地保持水分。
覆盖地膜对植物也有好处,因为地膜在分解的过程中会给土壤增加养分,这有助于形成植物喜欢的肥沃的生长介质。
我应该在花园中使用哪种覆盖物?
您可以在花园中使用许多不同种类的地膜,具体选择哪种类型取决于您的喜好和您要使用它的花坛类型。
树叶、稻草或草屑等有机材料在一些院子里随处可见,非常适合用于蔬菜或一年生植物的花圃。
硬木覆盖物或木屑(如杉木、松木和树皮)的使用寿命更长,外观也更美观。 它们最常用于景观美化或多年生花坛。
您应该多久更换一次覆盖物?
您需要多久更换一次覆盖物取决于您使用的类型。 轻质有机材料的分解速度比硬木快得多。
它们每年至少需要更换一次,如果腐烂得快,有时更换得更频繁。
木质覆盖物需要每 2-3 年铺一次,但它们容易褪色,所以如果还没到更换的时候,可以用耙子或手将其弄蓬松,使其焕然一新。
何时铺设覆盖物
我经常遇到的另一个问题是什么时候在花园里铺地膜。 春天和秋天都是铺地膜的好时节。
我个人更喜欢在春天修剪,这样整个夏天看起来都很清爽。 否则,如果等到秋天再修剪,就会被树叶和杂物覆盖,冬天过后看起来就会褪色。
春季覆盖地膜的最佳时间是在地面解冻后,但地面仍然湿润的时候。
不过,我建议等到植物开始生长后再进行,否则可能会不小心埋掉一些还没长出来的东西。
如果你在春天没有去,也不用担心,从夏天到秋天,你随时都可以去。
地膜应该铺多深?
覆盖物应铺 2-4 英寸深,少于 2 英寸就不能起到保护杂草的作用。
反之,如果铺设深度超过 5 英寸,则会阻碍土壤中的水分进入,并掩埋植物基部。
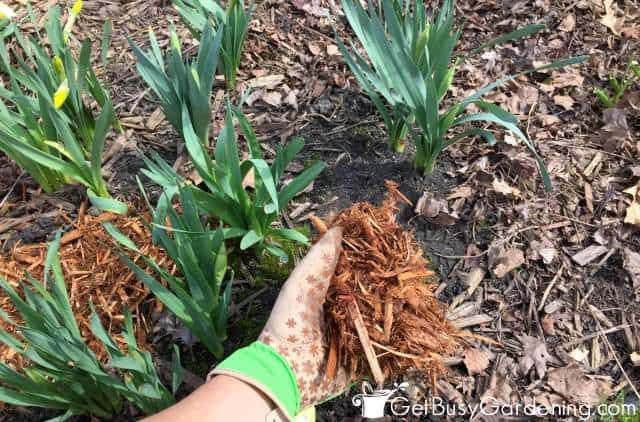
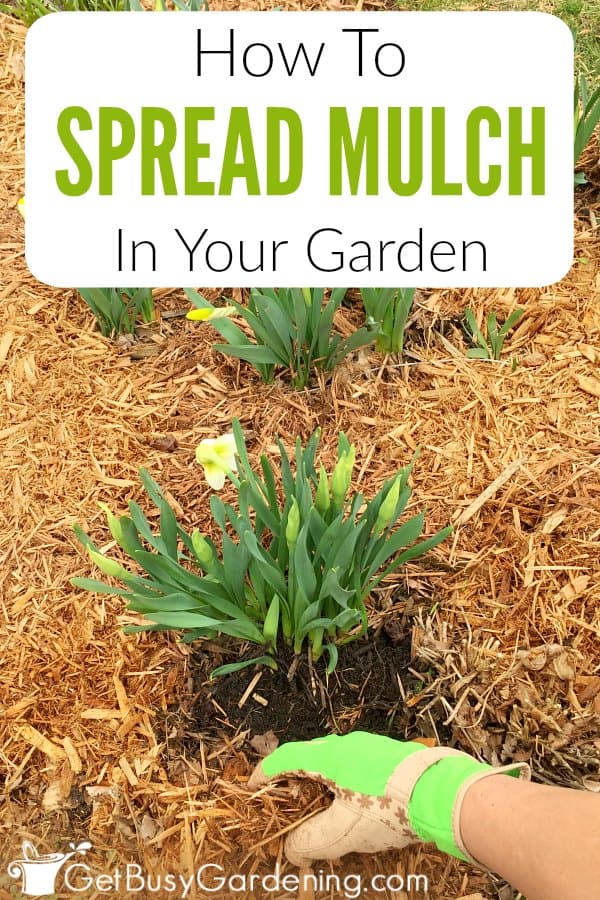
用我的双手在植物周围铺上覆盖物
如何正确铺设地膜
不管你信不信,铺地膜的方法有对有错,错误的方法是新园丁犯的最大错误之一。
如果你有一块只有土壤(没有植物)的地方,那么你就不需要担心对与错的问题。 只要均匀地撒一层就可以了。
但是,如果您要把它放在树或花园植物周围,那么适当的覆盖就非常重要了。
人们最常犯的错误是把垃圾堆放在花草树木的基部,这对它们非常不利。
See_also: 25+ 送给爸爸的精美园艺礼物部分埋入地下的植物茎干和树干可能会出现虫害、疾病和腐烂等重大问题。
在铺地膜时,一定要让地膜远离植物的基部,以便茎干周围有充足的空气流通。
用手将其摊开,最容易做到这一点。
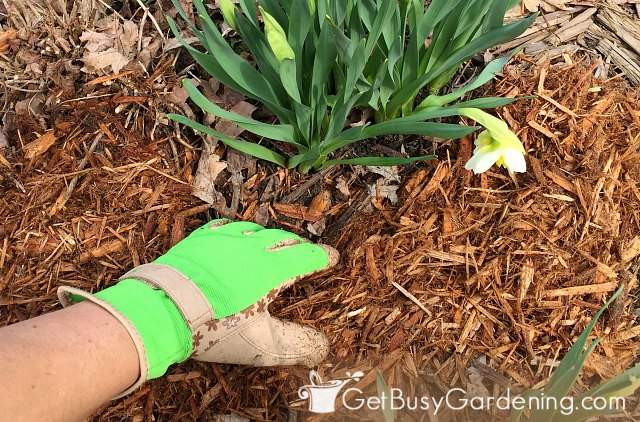
将覆盖物从植物茎基部拉开
如何逐步铺设地膜
最好在土壤潮湿而不是干燥的时候铺地膜,这样也更容易拔除杂草。 因此,如果您的花园比较干燥,请在前一天晚上浇透水。
所需用品
- 覆盖物
在下面的评论区分享您铺设地膜的技巧。