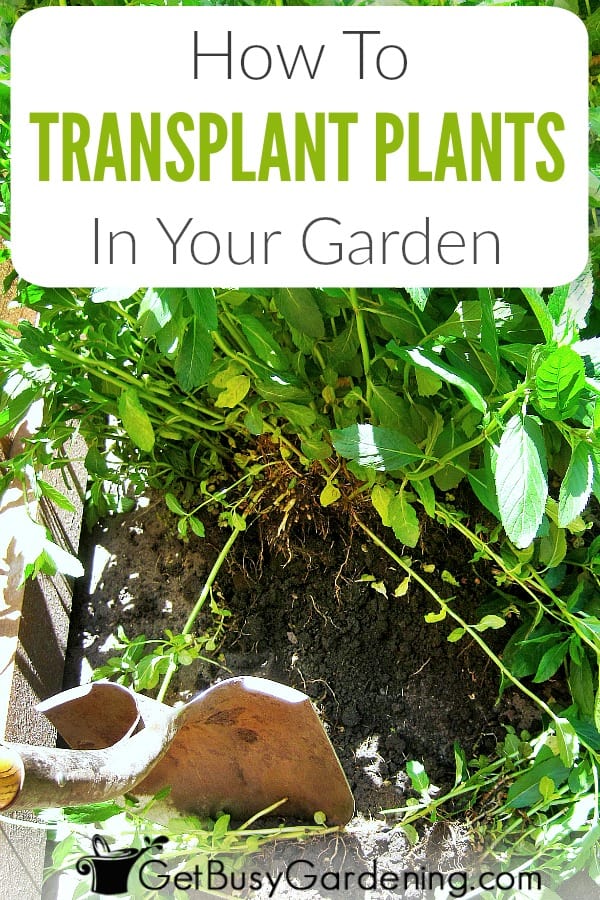
如何在花园里移植植物

 如何在花园里移植植物

Timothy Ramirez

无论是从苗圃的花盆中移植新的花园植物,还是将植物移到花园中的另一个地方,都需要遵循几个简单的步骤,以尽量减少移植冲击。 在本篇文章中,我将详细介绍何时移植多年生植物,并一步步向您展示如何准确地移植植物。

See_also: 植物繁殖简单易行》电子书

移栽对植物来说是件难事,大多数植物在移栽后都会出现某种形式的移栽休克。 按照以下步骤操作,可将植物受到的休克程度降至最低,并让植物在移栽后迅速恢复。

什么是植物移植休克?

如上所述,移植对植物来说很困难,有些植物的承受能力比其他植物强。 移植后植物枯萎通常是移植休克的第一个迹象。

将植物从地面移栽到地面或从花盆中移栽时可能会发生移栽休克。 严重的移栽休克会导致植物死亡,因此最好采取适当的措施来避免这种情况。

避免移栽休克的第一步是在正确的时间移栽多年生植物,然后按照以下步骤将休克降到最低,确保植物完全康复。

移植植物的最佳时间是什么时候?

种植多年生植物的最佳时间是夏季炎热之前的春季,或者天气开始转凉之后的秋季。

如果可能,应等到开花后再移走开花植物。 在花朵绽放前移栽可能会导致花蕾从植株上脱落,或导致开花不良。

一天中移植植物的最佳时间是清晨或傍晚,尤其是在夏天移植植物时。 避免在阳光最毒辣的下午种植植物。 另外,天气预报有雨时,阴凉的日子也是移植植物的最佳时间。

如何在花园里移植植物

一旦确定了移栽花园中多年生植物的最佳时间,请务必按照以下步骤将植物移栽到室外,以尽量减少植物休克,确保植物在新的地方茁壮成长。

无论是移植多年生植物还是将植物从花盆移入花园,基本步骤都是一样的。

步骤 1:先挖新的种植穴 在开始挖掘植物之前,确保你已经选好了新的地点,并准备好了新的坑。 移植植物入土的速度越快,发生移植休克的几率就越小。

挖一个比植物根球或花盆更大更深的新坑。 这样做可以使土壤疏松,让根系更容易扎根。

移植植物前挖新坑

第 2 步: 在种植穴中注水。 如果水很快就浸透了,那就再灌一次水,确保土壤湿润。

反过来说,你也不想让植物浮在水面上,否则一旦沉淀下来,植物就会沉得太深。 因此,在把植物放进去之前,一定要确保洞里的大部分水都被吸收了。
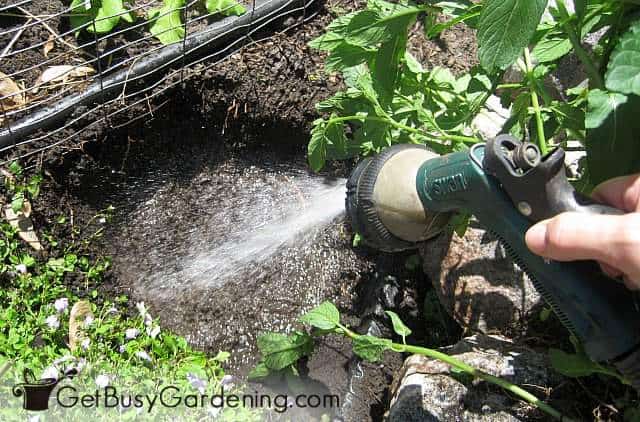
在种植穴中注水,以减少移植震荡

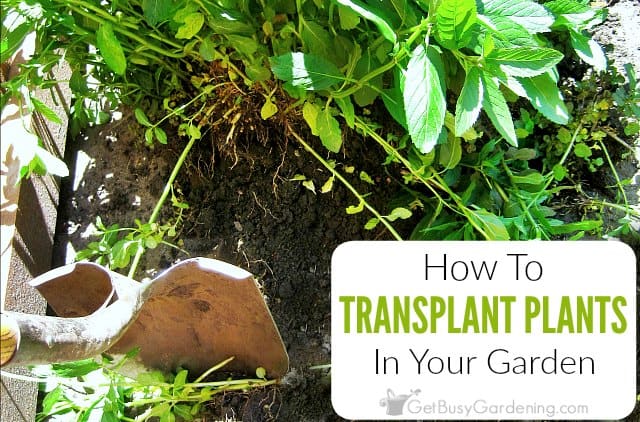
步骤 3:挖出植物 如果您要从花盆中移植新的花园植物,可以跳到步骤 4。 但是,如果您要将植物从地面移植到地面,请继续阅读。

接下来你要挖出植物,在根部周围留出足够的空间。 保持铲子直上直下,不要向植物根部倾斜,以免切到根球。

如果您想分株,现在是最佳时机。 许多多年生植物都可以用铲子或锋利的小刀切开根球进行分株。 在分株之前,请确保您已经为每次分株准备好了种植穴(或花盆)。

需要注意的是,并不是所有多年生植物都喜欢从根茎处分株,因此最好在挖出之前对要分株的植物进行研究。
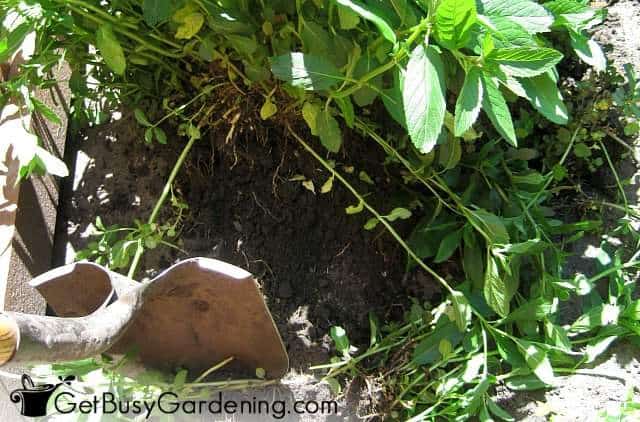
挖掘和移动多年生植物时尽量不要损伤根部

第 4 步: 将植物移到新的种植穴中。 挖出植物后,应立即将其移至新的位置。 将植物放入新坑中,高度与旧坑或花盆中的高度相同。 在坑中填满泥土,直到完全覆盖根球。

不要让任何根球露出泥土,这样会像吸水管一样把水分从根部吸走。
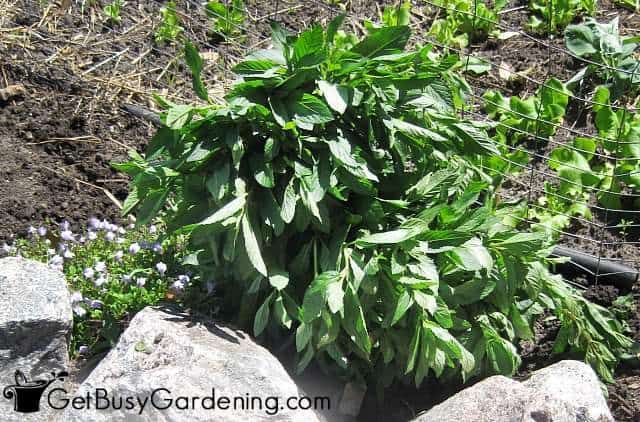
移植后植物枯萎

第 5 步:给植物浇足水 在完成移植后,一定要让植物充分喝水,然后在移植后的几天内继续浇水。 确保植物在移动后有充足的水分有助于最大限度地减少移植休克。

为什么植物在移植时会枯萎?

记得我在上面说过,移植休克的第一个迹象是植物在移植后枯萎。 不要惊慌!这并不意味着你的植物会死亡。 这对许多植物来说完全正常,有时只是无法避免。

有些植物根本不喜欢被移植,无论你如何按照上述步骤移植植物,它们都会下垂和枯萎。

大多数植物会在几天内恢复,但要注意保持充足的水分,在植物恢复之前不要施肥。
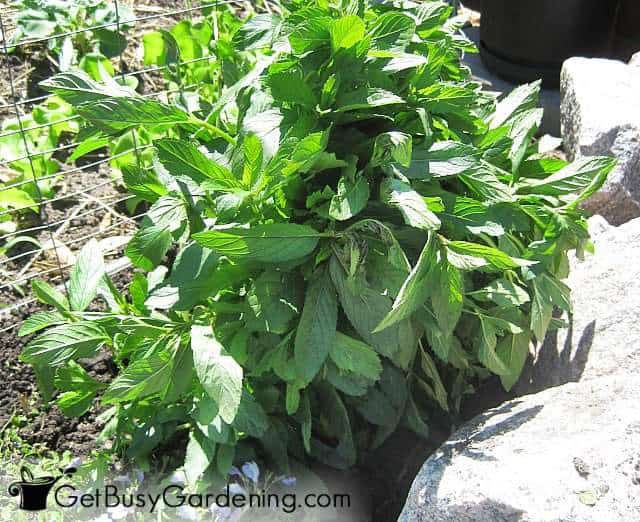
多年生植物在移植后从植物休克中恢复过来

See_also: 快速 & 简易西葫芦酱食谱

无论您是计划进行大型植物搬迁项目,还是只是想在花园中添加几株新植物,了解移植植物的最佳方法都非常重要。

只要记住等待移植多年生植物的最佳时机,并按照上述步骤操作,就不会因移植休克而失去任何植物。

您可能会喜欢的更多园艺技巧

    请在下面的评论区分享您的花园植物移植技巧。

    Timothy Ramirez

    Jeremy Cruz is an avid gardener, horticulturalist, and the talented author behind the widely popular blog, Get Busy Gardening - DIY Gardening For The Beginner. With over a decade of experience in the field, Jeremy has honed his skills and knowledge to become a trusted voice in the gardening community.Growing up on a farm, Jeremy developed a deep appreciation for nature and a fascination for plants from an early age. This fostered a passion that eventually led him to pursue a degree in Horticulture from a prestigious university. Throughout his academic journey, Jeremy gained a solid understanding of various gardening techniques, principles of plant care, and sustainable practices that he now shares with his readers.After completing his education, Jeremy embarked on a fulfilling career as a professional horticulturist, working in renowned botanical gardens and landscaping companies. This hands-on experience exposed him to a diverse array of plants and gardening challenges, which further enriched his understanding of the craft.Motivated by his desire to demystify gardening and make it accessible to beginners, Jeremy created Get Busy Gardening. The blog serves as a comprehensive resource brimming with practical advice, step-by-step guides, and invaluable tips for those starting on their gardening journey. Jeremy's writing style is highly engaging and relatable, making complexconcepts easy to grasp even for those without any prior experience.With his friendly demeanor and genuine passion for sharing his knowledge, Jeremy has built a loyal following of gardening enthusiasts who trust his expertise. Through his blog, he has inspired countless individuals to reconnect with nature, cultivate their own green spaces, and experience the joy and fulfillment that gardening brings.When he is not tending to his own garden or writing captivating blog posts, Jeremy can often be found leading workshops and speaking at gardening conferences, where he imparts his wisdom and interacts with fellow plant lovers. Whether he's teaching beginners how to sow their first seeds or advising experienced gardeners on advanced techniques, Jeremy's dedication to educating and empowering the gardening community shines through every aspect of his work.